Hilbert Curve Coffee Table
Building furniture with Copper Pipe
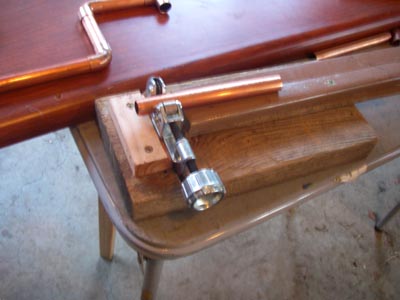
Here's a little jig I made to measure where to make the cuts.
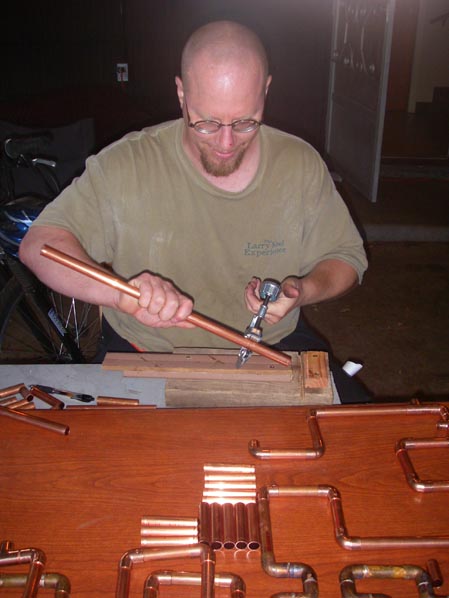
Cutting 1/2" copper pipe.
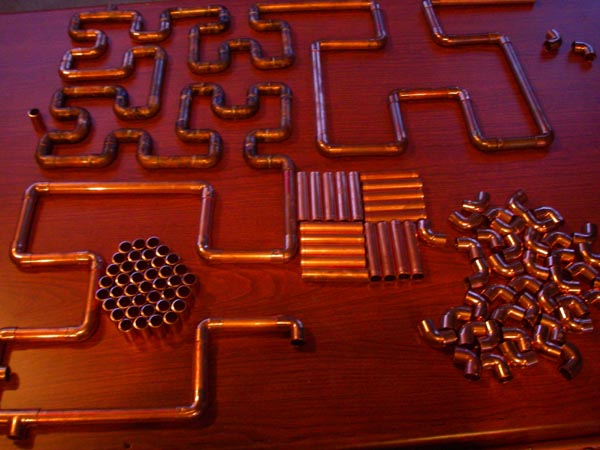
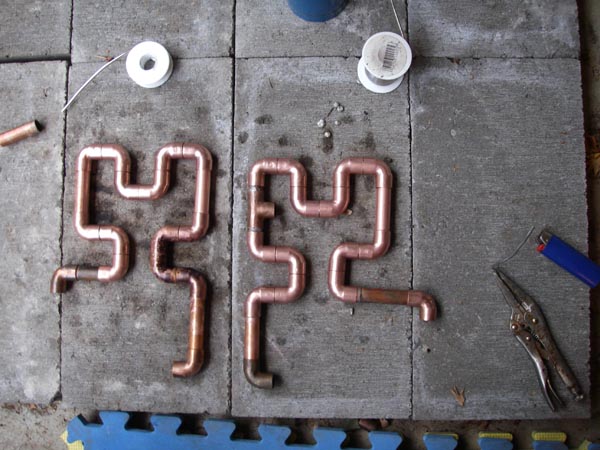
Parts layout.
It was a lot of cutting! And a lot of fittings. 50 elbows for each level 3 section. Here are some of them laid out all nice & purty. I had already soldered together one of the level 3 sections at this point; then I could attempt to get the measurements right for the level 2 sections.
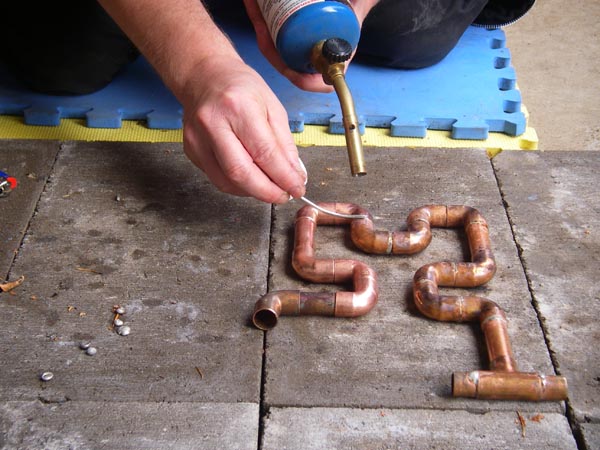
The next step was to flux the fittings and assemble small portions of the sections a bit at a time to get them ready for soldering.
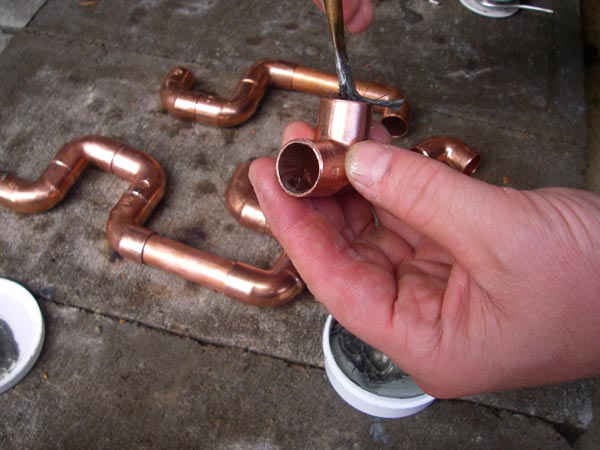
Fluxing a fitting.
About to solder up two subsections
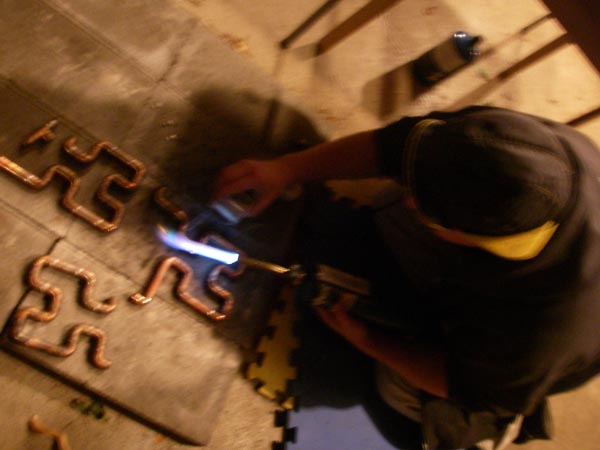
The soldering was the fun part! It's pretty simple: just heat up the joint, then when it's hot enough, touch the solder to the joint. If there's enough flux in the joint, the wicking action will draw the solder right in. The hard part for me was judging how much solder to use. I almost always used too much and ended up with blobs on the downward side of the joints.
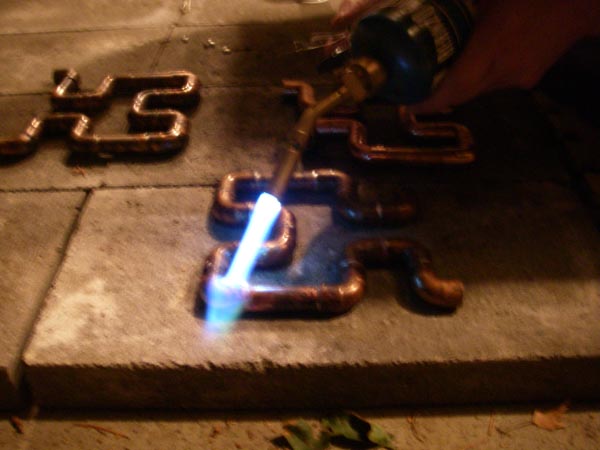
Heating up a joint.
Applying the solder. (can't see the flame as well in a daytime pic).
It was a cold night soldering. My flux froze and I had to zap it in the microwave to get it soft enough to apply. Good night for working with fire!
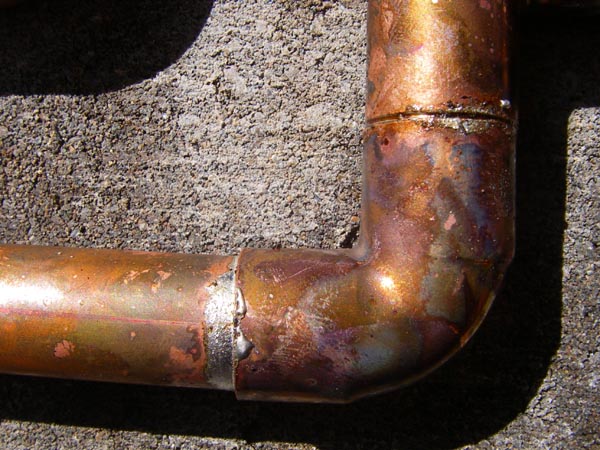
After heating, the copper pipes oxidize to a spectacular patina.
(It took brasso & steel wool to make them shine).